


Convert a Logo for Husqvarna Viking Embroidery
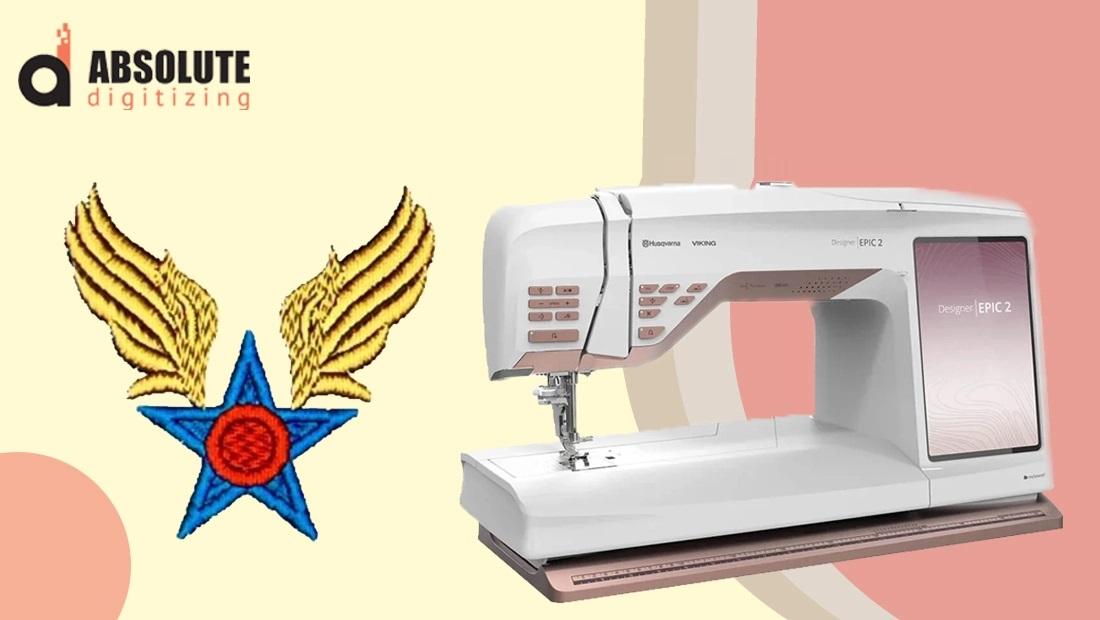
A business logo may look perfect on a screen, but embroidery tells a different story. Tiny details, thin lines, and small text can quickly become messy when turned into stitches. That is why you need more than a simple image conversion when preparing a logo for your embroidery machine.
To convert a logo for Husqvarna Viking embroidery, you need to turn the artwork into a properly digitized embroidery file that your machine can read and stitch. The process involves selecting the right format, setting stitch types, adjusting density, and preparing the design for the fabric and hoop you plan to use.
This guide explains the process in simple terms and shares practical tips for getting cleaner, more professional embroidery results.
What Does It Mean to Convert a Logo for Husqvarna Viking Embroidery?
Converting a logo for embroidery does not simply mean changing a JPG or PNG into another file extension.
A logo must be digitized for embroidery, which means the artwork is converted into stitch instructions. These instructions tell the machine where to place stitches, how stitches should run, when colors should change, and how different parts of the design should be built.
A properly digitized logo considers:
- Stitch types
- Stitch direction
- Stitch density
- Underlay
- Pull compensation
- Thread colors
- Design dimensions
- Hoop size
- Fabric type
Think of it like turning a drawing into a sewing route. The artwork shows what the logo should look like, while the embroidery file tells the machine how to build it with thread.
Which Embroidery File Format Does Husqvarna Viking Use?
Husqvarna Viking embroidery machines can use specific machine embroidery formats depending on the model and software workflow.
The HUS embroidery format is strongly associated with Husqvarna Viking machines. Some models and software workflows may also support formats such as VP3.
Because supported formats can vary between machines, always check your specific machine's manual before exporting the final file.
HUS vs. VP3
Both HUS and VP3 are embroidery file formats associated with the Husqvarna Viking ecosystem, but they are not simply interchangeable in every situation.
Your machine model, software, and transfer method can affect which format you should use.
The safest workflow is:
Logo artwork → Digitizing → Machine-compatible format → Transfer → Test stitch
How to Convert a Logo for Husqvarna Viking Embroidery
The conversion process becomes much easier when you follow a logical workflow.
Step 1: Start With High-Quality Logo Artwork
The better your original artwork, the easier it is to create a clean embroidery design.
Vector artwork is often useful because it provides clear shapes and edges. However, even a high-resolution JPG or PNG can be used as a starting point for professional digitizing.
Try to provide:
- A clear logo
- High-resolution artwork
- Original brand colors
- Any text in an editable format
- The desired embroidery size
Avoid starting with a tiny, blurry image if possible.
Step 2: Decide the Final Embroidery Size
Before digitizing, determine how large the logo needs to be.
For example, a small logo for the front of a shirt requires very different digitizing decisions than a large jacket-back design.
Consider:
- Garment type
- Available hoop area
- Fabric thickness
- Smallest lettering
- Overall logo proportions
Do not wait until after digitizing to decide the size. Stitch settings are affected by the final dimensions.
Step 3: Simplify the Artwork Where Needed
Not every detail in a printed logo works well in thread.
Very thin lines, tiny text, shadows, gradients, and complicated details may need to be simplified.
For example, a subtle color gradient on a digital logo cannot always be reproduced exactly with embroidery thread. A digitizer may need to use solid thread colors and stitch patterns to create a similar visual effect.
The goal is not to remove the identity of the logo. It is to adapt the artwork so it works naturally with thread.
Step 4: Select Suitable Stitch Types
Different parts of a logo may require different stitch types.
Common embroidery stitches include:
- Satin stitches for borders and lettering
- Fill stitches for larger areas
- Running stitches for fine outlines and details
Using one stitch type for everything can produce poor results. Good digitizing matches the stitch structure to the shape and size of each logo element.
Step 5: Set the Stitch Density
Stitch density determines how closely stitches are placed together.
If density is too low, the fabric may show through. If it is too high, the design can become stiff, bulky, or difficult to stitch.
The correct density depends on factors such as:
- Fabric
- Thread
- Design size
- Stitch type
- Underlay
- Embroidery area
A professional digitizer considers these factors instead of applying the same settings to every logo.
Use Underlay for Better Stability
Underlay stitches are placed beneath the main stitches. They help stabilize the fabric and create a stronger foundation for the visible embroidery.
Depending on the design, underlay can help:
- Hold fabric in place
- Support satin stitches
- Improve coverage
- Reduce distortion
- Create a cleaner finish
However, too much underlay can add unnecessary bulk. It should be selected according to the fabric and design.
Add Pull Compensation
Embroidery stitches can pull on fabric as they are sewn. This may cause shapes to become slightly narrower or distorted.
Pull compensation helps account for this movement.
For example, a satin-stitched letter may look slightly thinner after stitching than it did in the original digital artwork. Proper compensation can help maintain the intended shape.
This is one reason professional embroidery digitizing is more involved than simply tracing a logo.
Pay Special Attention to Small Text
Small lettering is one of the biggest challenges when you convert a logo for Husqvarna Viking embroidery.
Text that looks readable on a computer screen may become unclear when stitched at a tiny size.
Before finalizing the design, ask:
- Is the font suitable for embroidery?
- Are the letters large enough?
- Is the spacing sufficient?
- Are the strokes too thin?
- Will the fabric support the lettering?
Sometimes a font needs to be simplified or enlarged slightly to remain readable.
Prepare the Logo for the Correct Hoop
Your embroidery machine has a maximum embroidery area based on the hoop you use.
Before exporting your design, confirm that its dimensions fit comfortably within the selected hoop.
For example, if your logo is intended for a small chest placement, creating a design larger than the hoop will create an obvious problem during transfer.
Always check:
- Hoop width
- Hoop height
- Design width
- Design height
- Design orientation
- Placement area
Export the Finished Design
Once the logo has been digitized and checked, export it in the format required by your Husqvarna Viking machine.
Depending on your setup, this may involve saving the design as an appropriate HUS or VP3 file.
Do not rename a file extension manually and assume that the format has been converted. A real embroidery format conversion or export process ensures the file structure is correct.
Transfer the Logo to Your Machine
After exporting the design, transfer it using the method supported by your machine.
Depending on your equipment, this may include:
- USB transfer
- Direct computer transfer
- Compatible memory media
- Wireless transfer, where supported
After transferring the design, open it on the machine and check the preview before stitching.
Test Stitch Before Using the Final Garment
A test sew can save you from ruining an expensive shirt, jacket, cap, or other garment.
Use fabric and stabilizer similar to your final project.
Look for:
- Puckering
- Gaps
- Thread breaks
- Poor lettering
- Uneven coverage
- Excessive density
- Misaligned elements
- Unwanted thread buildup
If something looks wrong, adjust the digitized file rather than repeatedly stitching the same problematic version.
Common Problems When Converting Logos to Embroidery
Even a professional-looking logo can create problems when adapted for stitching.
Problem 1: Too Many Tiny Details
A logo designed for print can contain details that are simply too small for embroidery.
Solution: Simplify very small elements while keeping the main visual identity intact.
Problem 2: Poor Lettering
Tiny text can become unreadable.
Solution: Increase letter size, choose an embroidery-friendly font, or simplify the lettering.
Problem 3: Heavy Stitching
Too many stitches in a small area can make the embroidery thick and stiff.
Solution: Review stitch density, underlay, and overlapping areas.
Problem 4: Fabric Puckering
Puckering can happen when the fabric moves or when the design contains excessive stitching.
Solution: Use appropriate stabilization and review the digitizing settings.
Problem 5: Wrong File Format
A machine may fail to display a design when it is saved in an unsupported format.
Solution: Confirm your exact machine model and export using the required embroidery format.
Tips for Better Husqvarna Viking Logo Embroidery
Keep these tips in mind for more consistent results:
- Start with the clearest artwork available.
- Decide the final size before digitizing.
- Use the correct embroidery file format.
- Keep small lettering large enough to stitch clearly.
- Match stitch types to individual design elements.
- Avoid excessive stitch density.
- Use suitable underlay.
- Check the hoop dimensions.
- Preview the design before stitching.
- Always test new logos on similar fabric.
Professional Logo Digitizing for Husqvarna Viking Machines
If you do not have experience with embroidery digitizing software, creating a stitch-ready logo can take time.
At Absolute Digitizing, logo artwork can be prepared with embroidery production in mind. Instead of simply changing the file extension, the design is developed around practical factors such as stitch direction, density, underlay, lettering, sizing, and fabric behavior.
This approach can be especially helpful for businesses that need consistent embroidered logos across shirts, jackets, uniforms, caps, patches, or promotional products.
Is Logo Conversion the Same as Image Conversion?
Not exactly.
Image conversion changes one digital image format into another. Embroidery digitizing creates stitch instructions that an embroidery machine can understand.
For example:
PNG → JPG is image conversion.
Logo artwork → HUS/VP3 embroidery file requires embroidery digitizing and machine-specific preparation.
This difference is important because changing the file extension alone does not create a usable embroidery design.
Frequently Asked Questions
How do I convert a logo for Husqvarna Viking embroidery?
Start with clear logo artwork, determine the final embroidery size, digitize the artwork into stitches, and export it in a format supported by your specific Husqvarna Viking machine.
What format is best for Husqvarna Viking embroidery?
HUS is a commonly associated Husqvarna Viking embroidery format, while VP3 is also used in the Husqvarna Viking ecosystem. Check your machine model to confirm the required format.
Can I convert a JPG logo directly into an embroidery file?
A JPG can be used as source artwork, but it generally needs to be digitized. Simply changing the JPG extension does not create a machine-readable embroidery file.
Why does my embroidered logo look different from the original?
Embroidery uses thread instead of pixels or ink. Small details, gradients, thin lines, and tiny text may need to be adjusted during digitizing so they stitch clearly.
Should I test a logo before embroidering the final product?
Yes. A sample stitch-out helps identify problems with density, lettering, stabilization, sizing, and fabric interaction before you embroider the final garment.
Conclusion
To convert a logo for Husqvarna Viking embroidery successfully, think beyond the file extension. A high-quality result starts with good artwork and continues through proper digitizing, stitch planning, sizing, file export, and testing.
The right embroidery file should not only open on your machine—it should also stitch cleanly on the fabric you intend to use. By checking the format, hoop size, stitch density, lettering, underlay, and design structure before stitching, you can avoid many common embroidery problems.
For businesses that want polished, repeatable logo embroidery, professional digitizing can make the entire process easier and help turn ordinary artwork into a reliable machine-ready design.
 English
 Arabic
 French
 Spanish
 Portuguese
 Deutsch
 Turkish
 Dutch
 Italiano
 Russian
 Romaian
 Portuguese (Brazil)
 Greek